Building a Software/Platform Demo
When creating a video with a client, I like to work in a series of “Approval Phases.” Essentially, this is a way of saying that each phase must be approved and “locked” (i.e. it will not change) before moving forward to the next phase. In my experience, this is the best way to keep a project on track and on time.
Of course there is room for flexibility, and sometimes changes do happen. More on this below.
In a nutshell, however, the phases of creating a software demo video are the following:
Phase 1: The Client Demonstrates the Platform
The Client and I schedule a video call (typically on Zoom, though other options are available as well), where they can share their screen and introduce me to their software. I ask them to walk me through each step that they would like to be showcased in the final video.
This session also allows me to ask detailed questions that a new user might ask, but might not occur to a more seasoned user of the software. These questions ensure that the final video will serve as a comprehensive training tool.
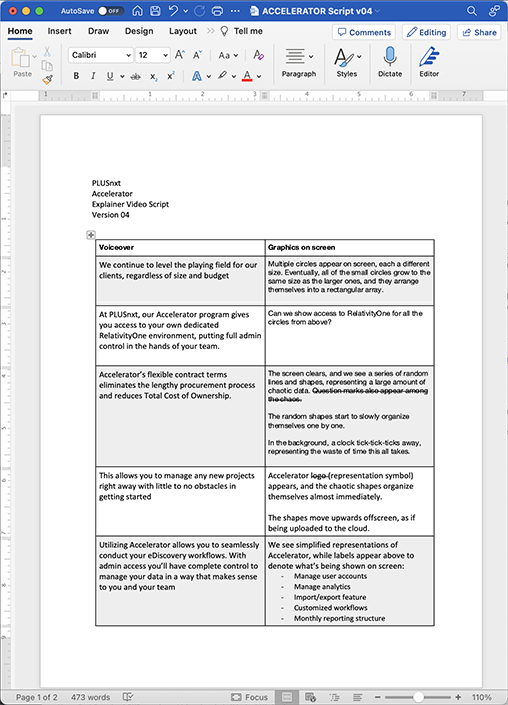
Phase 2: The Script
Based on our video call, I will create a voiceover script that carefully walks the user through each step of using the software. The script is formatted into two columns: on the left is the voiceover, and on the right is a description of what will appear on screen.

Phase 3: Voiceover and Audio
Next comes the recording of the voiceover and selection of the music that plays beneath it. I have access to both a male voice (myself) and a female voice (my wife), and can reach out to other voice artists as well if necessary. Clients are also welcome to submit their own voiceover recording if one is available.
Music may also be added underneath the voiceover. For longer videos (2 minutes or more), music may not be recommended, but this is always up to the client’s preference.
Phase 4: The Screen Recording
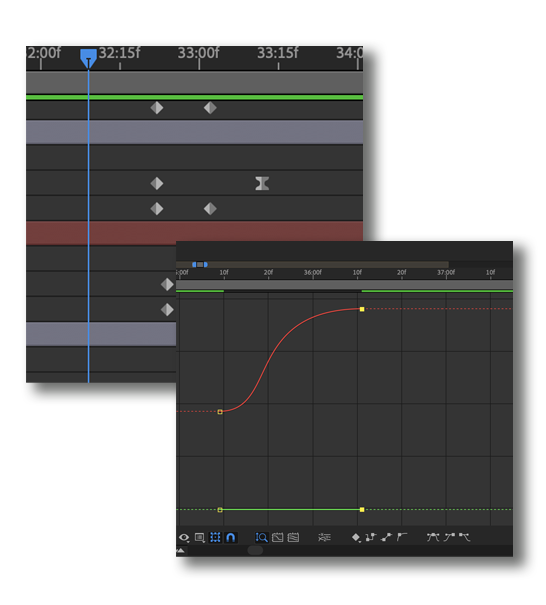
Following the script, I use Telestream’s Screen Flow to capture every mouse click, keystroke, and page refresh dictated by the script. After the recording is complete, I also use Screen Flow to edit the recording, which allows me to zoom into and/or highlight certain sections of the screen.
Phase 5: Feedback and Polishing
Once the screen recording cut of the video has been approved, we move into polishing the animation and transitions, typically adding on an introduction and outtro, based on the client’s branding.
The client provides any feedback they have, and I address all of the client’s notes until the finished video looks beautiful, professional, and engaging.
FINAL APPROVAL
How do we know when the project is actually done?
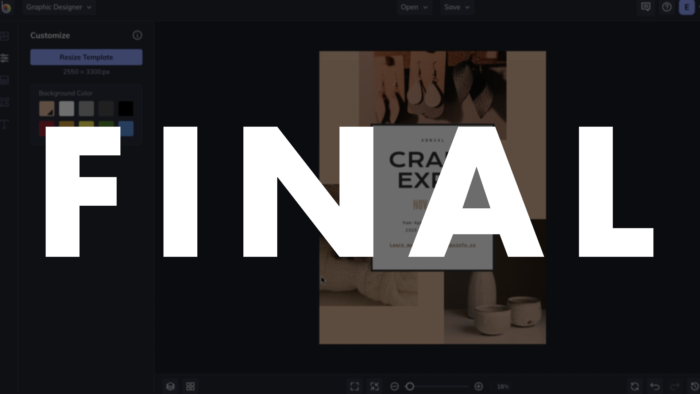
When there are no more notes to address, or feedback to incorporate, I will ask the client to simply provide the word “FINAL.” All caps. Once I see that, I will know that there is no more work to be done, and I will prepare the final invoice.
Changes / Overages
As mentioned above, the expectation is that once each phase has been approved, or “locked,” there will be no more changes to that phase of the project.
For example, if the script is “locked,” and we have moved into the voiceover or screen recording phases, a new change to the script would mean re-recording the voiceover (requiring additional time from the voice artist), and re-timing the screen recording (requiring additional work to fit in a new section of the video).
Sometimes these sorts of changes are unavoidable, but it’s best to keep them to a minimum.
When these changes occur after a phase has been approved, it is called an overage, and fees for the new changes begin at $100, depending on the degree of adjustment necessary.
Please let me know any questions you have, or if there is any additional information I can clarify for you.